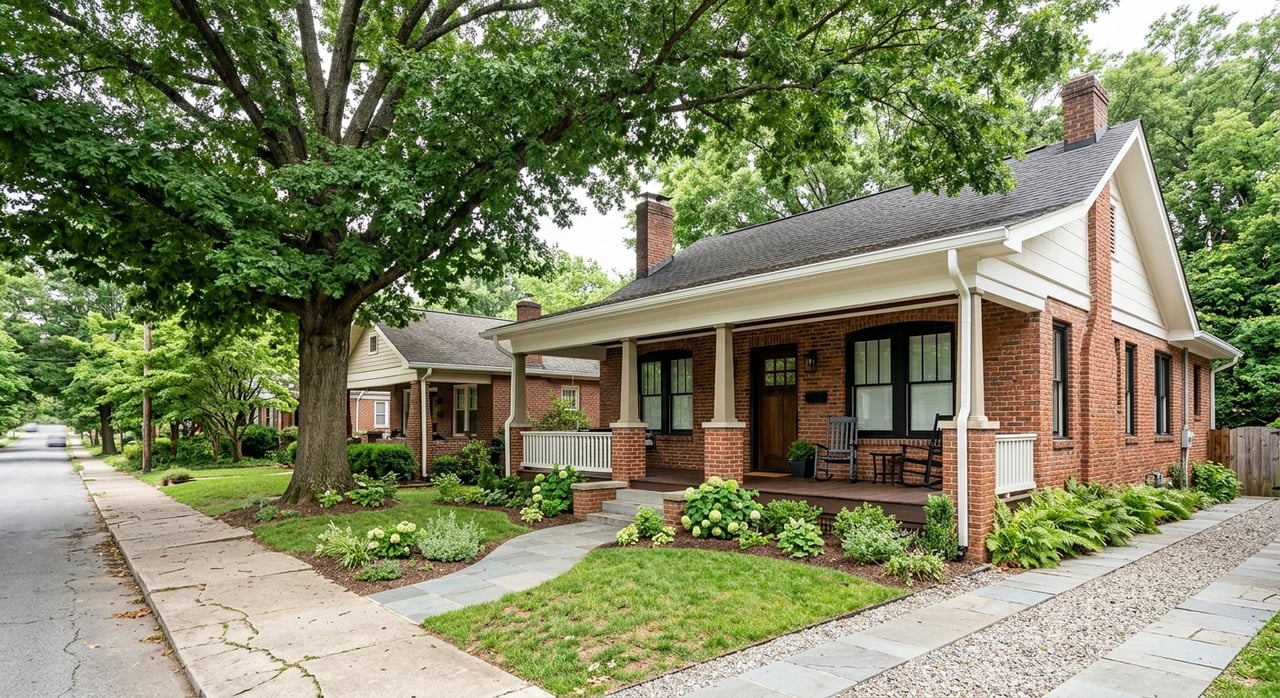
If you are planning a remodel in Gaston County, start with a simple step that protects your family, your budget, and your timeline: test for radon first. Radon is an odorless, colorless gas that comes from soil and is a proven lung cancer risk. The U.S. EPA estimates it causes about 21,000 deaths nationwide each year, and North Carolina sees an estimated 450 deaths annually, which is why the state promotes testing and mitigation programs according to the EPA and NCDHHS. In Gaston County, school testing showed varied results: 55 schools tested, 1,803 rooms measured, and 123 rooms above 4.0 pCi/L, with a maximum of 17.7 pCi/L. The county school average was 1.5 pCi/L and the median was 1.1 pCi/L. These numbers provide local context, but radon is very site specific. The only way to know your home’s level is to test it per NCDHHS radon data.
Test for radon before remodeling
Remodel plans move fast. Crews are scheduled, materials are ordered, and calendars are tight. Testing for radon at the start lets you plan mitigation, if needed, before you seal walls, pour a new slab, or finish a basement. That avoids pulling out brand-new finishes later. The EPA specifically recommends testing before finishing a basement or similar work so you can address issues more easily and at lower cost per EPA guidance on remodeling and indoor air quality.
Why radon testing comes first
Renovating without data can lead to rework. Radon levels and airflow patterns can change when you alter ventilation, add insulation, or seal floors. Testing upfront informs your design and sequencing.
Health, safety, and renovation timing
- Testing early gives you clear information to plan around the EPA’s action level of 4.0 pCi/L. EPA and NCDHHS recommend mitigation at or above 4.0 pCi/L and considering action between 2.0 and 4.0 pCi/L per EPA.
- Knowing your level lets you decide if mitigation should occur before finishing, when piping and fans can be integrated cleanly.
- If you install a mitigation system, you will retest within a defined window to confirm results before closing up finishes per NCDHHS mitigation guidance.
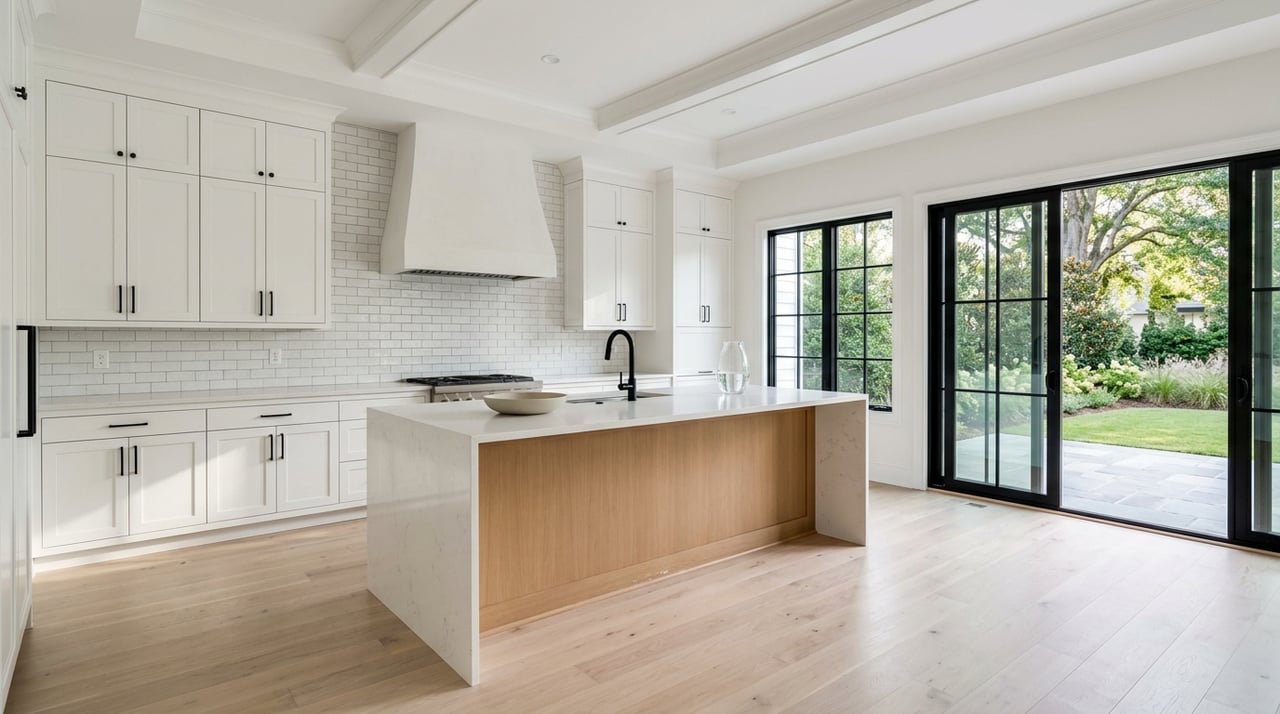
Remodel scenarios affected by radon
- Finishing or refinishing basements and lower levels
- Installing new flooring over a slab or sealing cracks and joints
- Converting crawlspaces, encapsulating, or changing ventilation
- HVAC redesigns that change pressure and airflow patterns
- Additions that tie into existing foundations or slabs
- Replacing sump systems or altering drainage around the structure
Flag these items with your contractor at the planning stage. A radon-aware plan reduces change orders later.
How home radon testing works
Testing is straightforward. You choose a test method, place it in the lowest level of the home that you use regularly, maintain closed-house conditions for short-term tests, and read the results.
Short-term versus long-term testing
- Short-term tests run 48 hours to 7 days. They are ideal for pre-remodel screening and real estate timelines. If a short-term test reads 4.0 pCi/L or higher, follow up with a second short-term or a long-term test to estimate the annual average per NCDHHS testing guidance.
- Long-term tests run 90 days or more. They provide a better estimate of the annual average when timing allows, or after seasonal changes.
- Retest after any major renovation or ventilation change to confirm levels remain below your target per EPA retesting guidance.
Professional versus DIY test options
- DIY kits are affordable and easy to use. Follow the instructions closely, especially for closed-house conditions.
- Professionals use Continuous Radon Monitors that record hourly data. This helps interpret spikes, tampering, or weather effects and provides documentation that can be useful for future transactions. National standards and EPA’s Radon Standards of Practice guide test planning and protocols see EPA standards.
- For homes with high stakes on timing or resale, professional testing offers added confidence and documentation.
Where and when to place tests
- Place tests in the lowest level you use regularly, such as a finished basement or first floor over a crawlspace. Avoid kitchens, baths, or near exterior doors.
- Maintain closed-house conditions for 12 hours before and during a short-term test. Keep windows closed and avoid large whole-house fans that could invalidate results per EPA Standards of Practice.
- Use consistent placement for follow-up tests so results are comparable over time.
Plan your remodel around mitigation
Your goal is simple: test, plan, mitigate if needed, verify, then build. Sequencing work this way ensures your finishes and mechanical designs support healthy indoor air and future resale.
Pre-demo timeline and contractor coordination
- Initial screening test. Run a short-term test in the lowest regularly used level.
- Scope adjustment. If results are at or above 4.0 pCi/L, meet with a certified radon pro to design a mitigation approach that fits your foundation and remodel plan.
- Mitigation installation. Complete system rough-in before drywall, flooring, or encapsulation. Integrate penetrations, chase locations, and electrical early.
- Post-mitigation verification. Perform a post-test no sooner than 24 hours and no later than 30 days after system activation. Keep closed-house conditions as directed per NCDHHS.
- Proceed with finishes. Once results confirm the target level, move ahead with insulation, drywall, cabinets, and flooring.
Set clear roles: the contractor schedules access, the mitigation pro installs and labels the system, and a separate tester verifies results to avoid conflicts of interest.
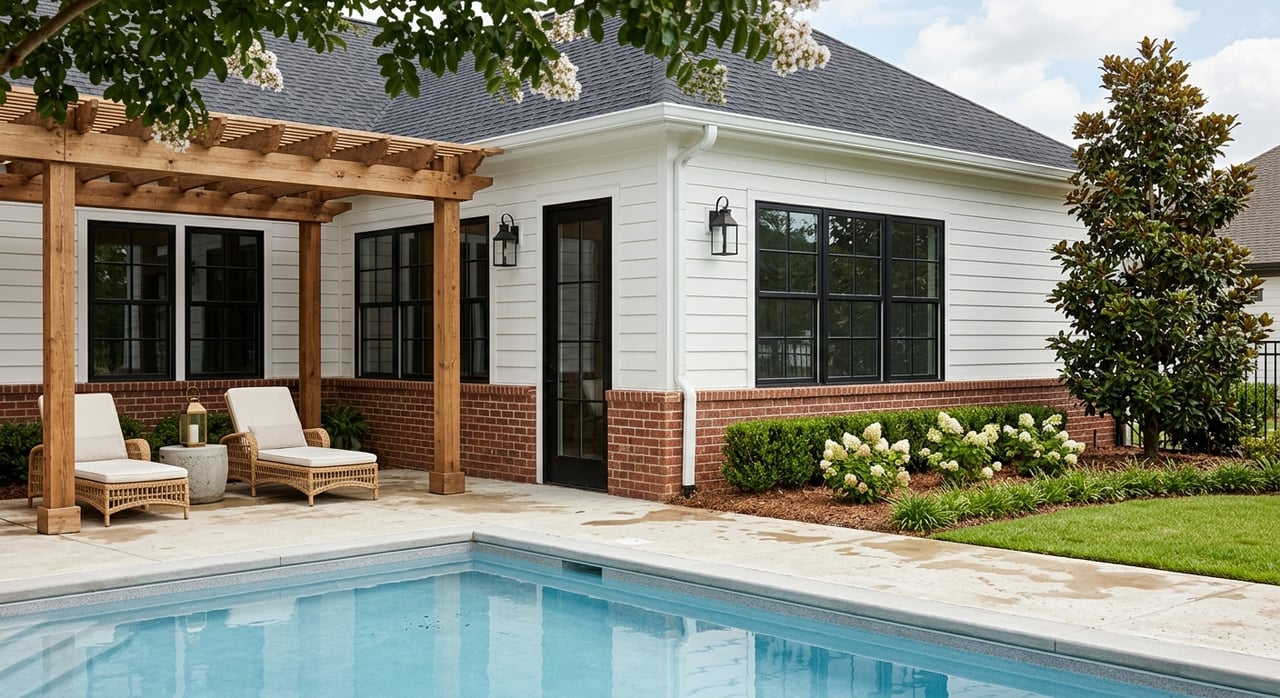
Permitting, ventilation, and sealed components
- If you encapsulate a crawlspace or seal a slab, coordinate with your mitigation pro so the system maintains proper pressure and airflow.
- Plan how the fan will be powered and routed outside to vent above the roofline.
- If you are changing HVAC or adding fresh-air systems, confirm how those changes may affect radon dynamics.
Budgeting for mitigation and retesting
- Typical mitigation costs range from about 800 to 2,500 dollars, with many projects around 1,000 to 1,500 dollars, depending on foundation type and home size per EPA cost guidance and common market references see HomeAdvisor overview.
- Add line items for electrical, roof penetrations, cosmetic enclosures, and verification testing.
- Retest every two years or per professional guidance to ensure ongoing performance per NCDHHS mitigation guidance.
Choose a mitigation approach that fits
Most homes can reach well below 4.0 pCi/L with proper design. Your foundation type drives the strategy.
Basement, crawlspace, and slab strategies
- Sub-slab depressurization: A pipe and inline fan draw soil gases from under the slab or basement floor and vent above the roof. This is the most common retrofit for basements and slabs per EPA building guidance.
- Crawlspace approaches: Options include sub-membrane depressurization with a sealed liner, targeted ventilation, or hybrid systems that tie into a sump.
- Water contributions: If on well water and levels are high, a pro may check whether water is contributing and recommend aeration or granular activated carbon treatment when appropriate.
System components and maintenance basics
- Core parts: suction point(s), PVC vent piping, a continuously running fan, a manometer or monitor, roof vent termination, and labeling.
- Effectiveness: Well-designed systems often reduce levels by 80 to 99 percent, but the fan must run continuously and you should retest periodically to verify performance per EPA cost and effectiveness overview.
- Maintenance: Fans typically last 10 to 15 years and may carry a multi-year warranty. Build easy access into your plans for future service.
Integrating systems with finished spaces
- Route piping through closets or utility chases to minimize visibility.
- Paint or box-in exposed sections in living areas. Plan for noise control around the fan by locating it in an attic or exterior position, not in a bedroom ceiling.
- Label the system clearly and keep the monitor visible so you can check operation at a glance.
Protect resale value and inspections
Testing and mitigation do more than protect health. They also make future transactions smoother and can help you negotiate with confidence.
Documentation buyers and inspectors expect
- Original and follow-up test reports with dates, methods, and results
- Installer details, certification proof, and a copy of the contract and warranty
- Post-mitigation verification test within 24 hours to 30 days after activation, plus periodic retests
- Photos of system components and labeled shutoffs
Store these in a digital folder you can share with buyers and inspectors.
Pricing negotiations and local disclosure norms
North Carolina sellers must provide the standard disclosure form, which asks about known environmental hazards, including radon. Brokers aware of dangerous levels must disclose that fact to buyers per state disclosure law. If you have a documented mitigation system and passing follow-up tests, you reduce uncertainty for buyers. That often means fewer concessions during inspection.
When to consult local real estate experts
Loop in a trusted real estate advisor at three points:
- Pre-remodel planning, to align scope and timeline with your resale goals
- Pre-listing prep, to organize documents and decide on any retesting
- Inspection response, to interpret buyer requests and keep the deal on track
If you want help coordinating testing pros and lining up your remodel timeline with your real estate goals, connect with Jeremy Ordan for a quick planning call. We can point you to local resources and help you protect future resale.
Make radon testing step one
Here is your simple sequence: test, plan, mitigate if needed, verify, then remodel, and retest periodically. This order protects your family’s health, keeps your budget on track, and smooths future inspections. Radon risk varies from house to house, even on the same street, so do not rely on maps alone. Test your home, build a smart plan, and document your results.
FAQs
What is radon and why should I care?
- Radon is a colorless, odorless radioactive gas that can cause lung cancer. The EPA estimates about 21,000 deaths per year in the U.S., and NCDHHS estimates 450 annually in North Carolina EPA and NCDHHS.
Are Gaston County homes at risk?
- Radon is highly site specific. Local school testing shows a range of results, but only a test in your home reveals your level NCDHHS radon data.
When should I test if I am remodeling?
- Test before you start, especially before finishing a basement, sealing a slab, or encapsulating a crawlspace. It is easier and cheaper to fix issues first EPA remodeling guidance.
What counts as a high radon level?
- The EPA action level is 4.0 pCi/L. Mitigate at or above that level and consider action between 2.0 and 4.0 pCi/L EPA guidance.
DIY kit or professional test?
- DIY kits work for screening if you follow instructions and closed-house rules. Pros use continuous monitors for detailed, documented results that are helpful for resale EPA standards.
How much does mitigation cost?
- Many systems cost about 1,000 to 1,500 dollars, with a common range of 800 to 2,500 dollars depending on your home EPA cost overview and market references.
Who should I hire in North Carolina?
- North Carolina recommends using certified professionals through approved proficiency programs like NRPP or NRSB. Ask for proof of certification, insurance, and a written contract with a post-install test NCDHHS professional guidance.
What is the post-mitigation testing window?
- Perform a verification test no sooner than 24 hours and no later than 30 days after the system is activated, then retest periodically, ideally every two years NCDHHS mitigation guidance.
Do I need to disclose radon when I sell?
- Yes. The NC disclosure form asks about environmental hazards, including radon. Known elevated levels must be disclosed. Good documentation and passing tests help buyers feel confident NC disclosure law.